Workspaces
Use the Comet UI to perform operations on Workspaces.
Basics of the Comet UI are covered in Find your way around.
Note
These instructions relate to the UI for on-premises deployments only. They will be forthcoming shortly in Cloud deployments, too. Meanwhile, to perform similar steps in Cloud deployments, see Comet's earlier version of the docs.
Create a Workspace
You can create new Workspaces.
From any page, click your avatar in the top right corner. In the menu that opens, select Switch Workspace > View all workspaces.
Click Create a Workspace.
Name your Workspace, then click the newly created Workspace to start using it!
Add collaborators to a Workspace
You can add collaborators to your Workspace.
From any page, click your avatar in the top right corner.
In the menu that opens, select Account settings > Workspaces.
In the relevant workspace, click Invite. In the window that opens, add the usernames or email addresses of the users you wish to add, then click Send Invite.
Note
If you want to invite a collaborator to the workspace you are currently in, click the Invite member button in the user menu rather than needing to go to account settings
Warning
Workspace projects will automatically be shared and visible to all the collaborators in the workspace. If you choose to set a Project to Public, that Project will also be shared with the rest of the world and accessible to anyone who has the direct link to your workspace.
Move to a different Workspace
You can display any workspace of which you are a member.
Click your avatar in the top right corner.
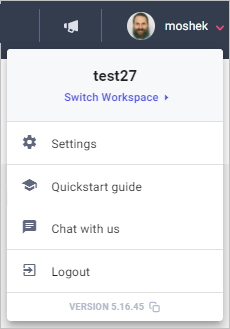
Click Switch Workspace then select a Workspace to move to.